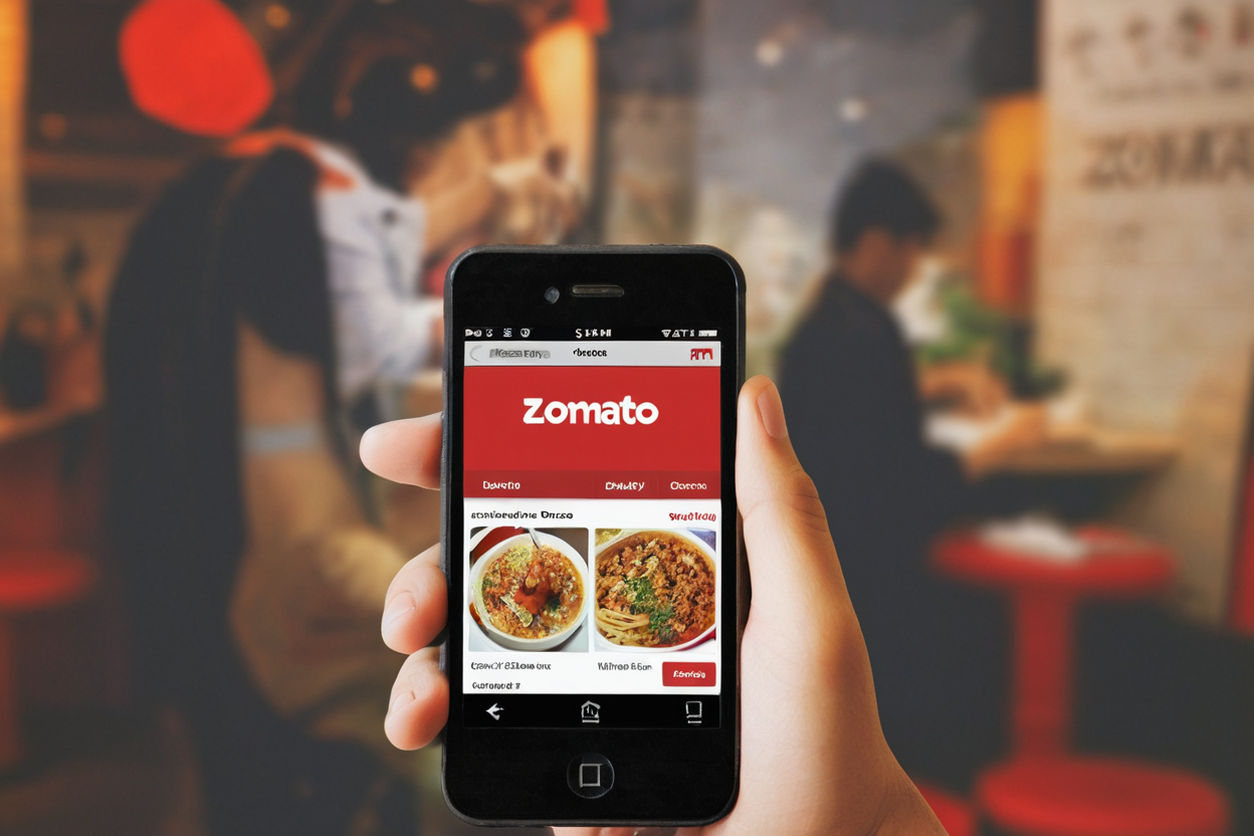
Zomato has revolutionized the way restaurants connect with their customers by offering an online platform where food lovers can easily discover and order from various eateries. Partnering with Zomato allows restaurant owners to increase their reach, improve brand visibility, and generate more sales. In this comprehensive guide, we will walk you through the process of Zomato registration in five easy steps, helping you become a part of their growing network.
Why Register on Zomato?
Zomato offers numerous benefits to businesses that partner with them, from expanding your customer base to offering seamless delivery services. Here are a few reasons why signing up on Zomato can be a game-changer for your restaurant business:
- Increased visibility: With millions of active users, Zomato provides unmatched exposure for your restaurant.
- Enhanced customer service: The platform offers reviews and ratings, allowing you to build trust with customers.
- Convenient online ordering: Zomato’s robust delivery network ensures efficient service, attracting more customers.
- Analytics and insights: Gain access to valuable data that helps you make informed business decisions.
Step 1: Prepare Essential Documents
Before starting the registration process, make sure you have the required documents handy. You’ll need the following:
- FSSAI License: This is mandatory for all food businesses in India.
- GST Registration Certificate: If applicable, ensure your restaurant has a valid GST number.
- Restaurant Photos: High-quality images of your restaurant premises.
- Bank Details: Account number and IFSC code for transactions.
- Menu Details: An updated menu list along with pricing.
By keeping these documents ready, you will speed up the process significantly.
Step 2: Visit Zomato’s Partner Registration Page
To begin the registration process, go to the official Zomato Partner Registration page. You can easily find this by visiting the Zomato website and navigating to the ‘Partner with Us’ section or by clicking on the registration link provided by Zomato.
- Tip: Make sure to read through Zomato’s terms and conditions before proceeding with the application.
Step 3: Fill Out the Registration Form
Once you’re on the registration page, fill out the required fields in the form. Here’s what you need to provide:
- Business Information: Enter your restaurant’s name, address, and contact details.
- Owner Information: Your personal details such as name, email, and mobile number.
- Menu and Pricing: Upload your restaurant’s menu with prices and photos.
- Delivery Radius: Specify your delivery area to ensure efficient service.
Double-check the information for accuracy before submitting the form.
Step 4: Verify Your Details
After submitting your application, Zomato will verify the provided details. This might take a few days, depending on your location and the completeness of your documents. Zomato representatives may visit your restaurant for an inspection or call for a virtual verification.
- Important: Make sure your restaurant meets Zomato’s quality standards for hygiene and service to avoid delays.
Step 5: Get Listed and Start Receiving Orders
Once your application is approved, your restaurant will be live on Zomato, and you can start receiving orders immediately. Here’s what happens next:
- Menu Setup: Finalize your menu on Zomato’s platform with clear item descriptions and prices.
- Set Up Delivery: Zomato will integrate delivery services for your restaurant, including delivery personnel.
- Track Orders: Use Zomato’s platform to manage incoming orders, track delivery, and ensure customer satisfaction.
How Much Does Zomato Charge for Registration?
While Zomato does not charge any registration fees upfront, it operates on a commission-based model. The commission percentage varies based on several factors such as location, delivery service, and menu offerings.
- Tip: Always negotiate with Zomato representatives to ensure that you get the best deal for your restaurant.
How to Optimize Your Zomato Profile
Once registered, optimizing your profile is crucial to attracting more customers. Here are some quick tips:
- High-quality Images: Upload visually appealing pictures of your restaurant and food.
- Accurate Menu Descriptions: Ensure that your menu is detailed, with item descriptions and correct pricing.
- Customer Reviews: Encourage satisfied customers to leave positive reviews on your Zomato page.
Zomato Support and Resources
Zomato offers dedicated support to its partners. In case you encounter any issues or need assistance, Zomato provides:
- Customer Support Team: Available via phone or email.
- Restaurant Dashboard: A dashboard that offers performance insights and metrics to help you improve.
Conclusion
Registering on Zomato is a straightforward process that can open doors to tremendous opportunities for your restaurant business. With Zomato’s vast network of users, efficient delivery services, and user-friendly platform, you can scale your business while providing customers with excellent service. Follow the steps outlined in this guide to get started today and begin benefiting from increased visibility and sales.
FAQs
Q1: Is Zomato registration free?
A: Yes, registration is free, but Zomato charges a commission per order.
Q2: How long does the registration process take?
A: The verification and approval process typically takes a few days.
Q3: Can I change my menu after registration?
A: Yes, you can update your menu and prices anytime using Zomato’s platform.
Q4: What documents are required for Zomato registration?
A: You will need your FSSAI license, GST registration, bank details, and menu information.
Q5: Can I register multiple outlets on Zomato?
A: Yes, Zomato allows you to register multiple restaurant locations under one account.
